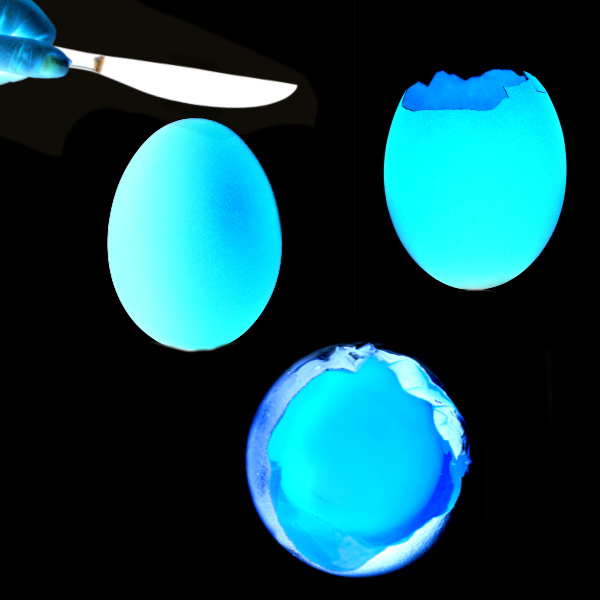
Did you know that you can easily make geodes at home using eggshells?
Today, we experimented to see if we could make glowing egg geodes, and the results were just too cool!
Today, we experimented to see if we could make glowing egg geodes, and the results were just too cool!

For all the best kids activities follow us on Pinterest & Facebook.
This experiment explores evaporation, super-saturated solutions, and how geodes form within rocks. The eggshells in the experiment will be acting as your rocks. Are you ready to make glowing egg geodes?
This experiment explores evaporation, super-saturated solutions, and how geodes form within rocks. The eggshells in the experiment will be acting as your rocks. Are you ready to make glowing egg geodes?
Egg Geodes Experiment
Materials
- Eggs
- Borax
- Hot water
- Fluorescent
paint
- A blacklight
Method
- First, decide how many geodes you want to make. You will want to use one egg for each geode.

- Gently tap the top of each egg to create an opening.
- Then, empty the inner egg from the shell and pour it into a bowl.
- Repeat this process for each egg.

- Gently wash the shells under hot water.
- Using hot water makes it much easier to remove the egg membrane from the inner shell.
- Use your finger to gently scrape out the egg membrane as you rinse the shells, ensuring that you get it all.
- The membrane can discolor the geodes if not fully removed.
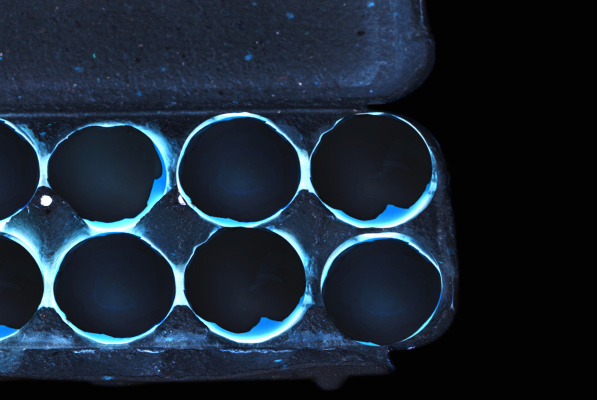
- Place your cleaned shells into an empty carton, and the experiment can begin!

Making Glowing Geodes
For each geode you will need:
- 1/4 cup of very warm water,
- 2 tablespoons of borax
- 1 teaspoon of glowing paint
.
Method (per geode)
- Combine the glowing paint and the warm water in a large bowl and stir until the paint is dissolved.
- Add the borax to the bowl and mix until the borax is dissolved and all ingredients are combined.

- Carefully pour this mixture into an empty egg shell.
- Repeat this process until all of your eggshells are filled.

- An empty carton or muffin tin works great for keeping the eggs upright.
Growing Glowing Geodes
- Allow your eggs to sit for several days, checking on them daily and recording any changes.
- The first thing you will notice is the liquid evaporating from the shells.

- As this evaporation takes place the water level in the eggshells will go down, a little each day.
- After 4 days most of our water had evaporated, letting me know that our geodes were just about ready.
- The next day I emptied any remaining water from the shells, and we couldn't believe the results!

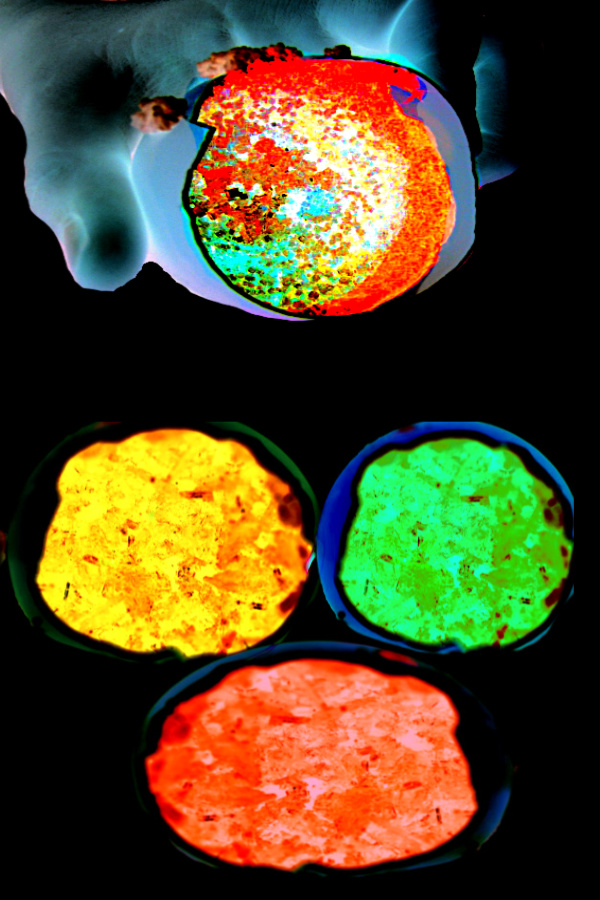
- Our glowing geodes turned out SO COOL!

Rosie and Jewel were in awe and couldn't wait to show everyone their glowing "space geodes".


I was so pleased with how amazingly vibrant our geodes turned out, too!
The Science Behind the Fun
- What causes the water to evaporate from the eggshells?
- What causes the crystals to form inside of the eggs?
For a detailed, scientific explanation of how this experiment works check out:
More Glowing Activities for Kids
Tips & Resources
- For the best effect you will want to use a blacklight for this activity.
- You can use a blacklight fixture or these super cool uv-flashlights. We love to use both!
- The blacklight fixture that we used for this activity can be purchased on Amazon here.
- The glowing paint that we used can be found here.
- Borax can be hard to find in stores. We buy ours in bulk online here.
MORE
for
KIDS:

PIN ME!


