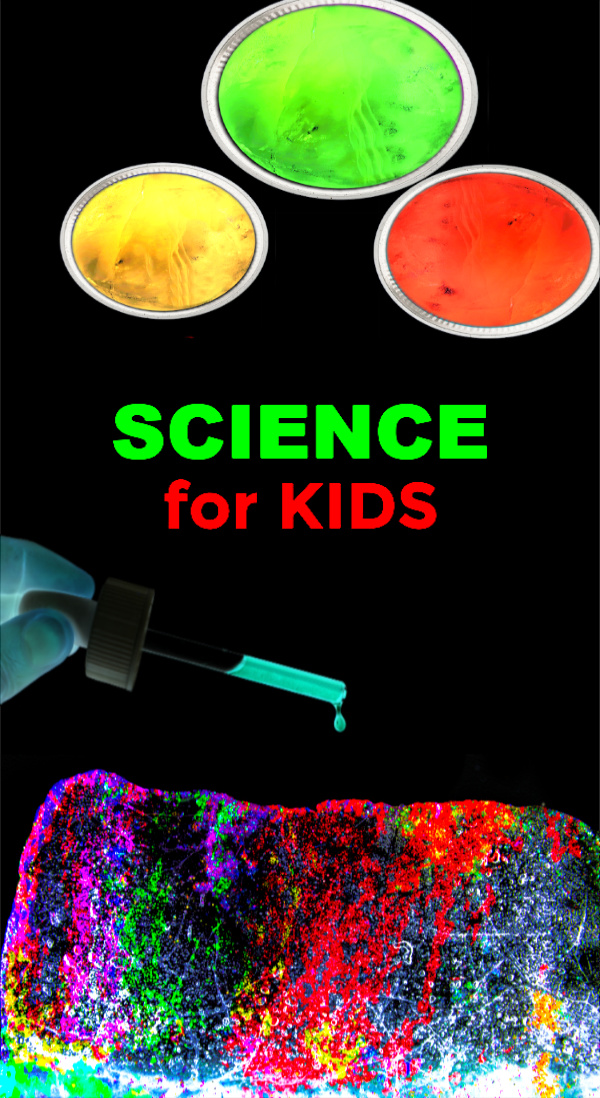
One sure way to get kids loving science is to make it GLOW!
Lately, we have been having lots of fun creating unique, glowing activities for kids. Some of my favorites have been glowing eruptions, glowing oil and water experiments, and glowing bubble science. Today, I set up another fun science experiment that GLOWS!


Lately, we have been having lots of fun creating unique, glowing activities for kids. Some of my favorites have been glowing eruptions, glowing oil and water experiments, and glowing bubble science. Today, I set up another fun science experiment that GLOWS!


Experimenting with salt & ice is a great activity for kids of all ages with quite mesmerizing effects throughout the process. Today, we put a spin on the traditional experiment for kids and made it glow-in-the-dark! Are you ready to explore glowing ice & salt science?
Glowing Ice & Salt Experiment
Materials- Ice
- Salt
- Neon Paint
- Bowls/containers
- Water
- Pipettes or eye droppers
- A blacklight
Note: To achieve the best effect you will want to use a blacklight for this activity. You can use a blacklight fixture and/or these super cool flashlights.
Method
- Start by freezing a large container of water.
- I used food storage containers. Cartons from recycling or a pie pan will also work.
- Add 1 teaspoon of glowing paint to the container(s), and then fill them with very warm water and stir until the paint is dissolved.
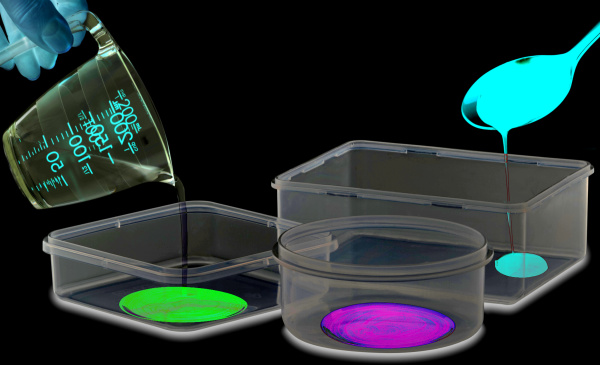
- I wanted to try this experiment using varying colors of glow ice, so I froze several containers of water.
- Allow your ice to freeze for 4-6 hours.


Making Neon Watercolors
- Add 1 teaspoon of glowing paint to a bowl, using one bowl for each color of watercolors that you wish to make.
- Add warm water to each bowl & stir until the paint is dissolved.

- You now have glowing watercolor paint!

- Add pipettes, and the fun can begin!
Note: If you don't feel like making your own watercolors you can buy glowing watercolor paint on Amazon here.
The Ice & Salt Experiment
- Remove the blocks of ice from their containers, and place them in a shallow bin. We used large cooking pans.
- Set the salt and pipettes out along with the ice and watercolors.

- Have kids begin by covering the ice blocks in salt. We used kosher salt, but any salt will work.
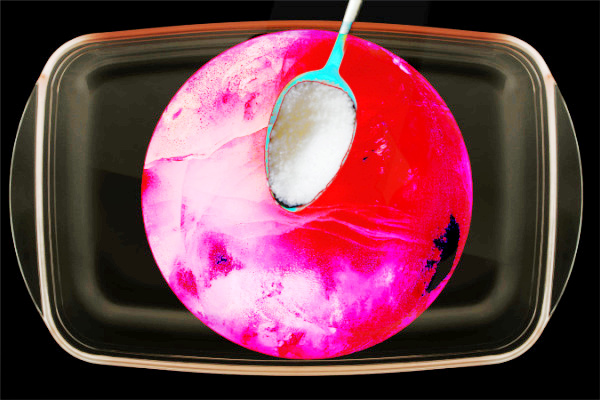
- Don't be shy. You want to use quite a bit of salt.
- Rosie sprinkled the salt and then spread it around using her hands to make sure the entire ice block was good and covered.
Now is a good time to take a moment to talk a bit about the science behind the experiment.
- What do your kids think the salt will do to the ice?
- What do they think will happen when they begin to add the watercolors?
- Have them write down their predictions.
This pause for discussion also gives the salt a chance to react with the ice. Once predictions are made kids can begin to add color, which will allow them to see the effects of the salt on the ice.
- Have kids use pipettes or eye droppers to squirt the glowing watercolors onto their salty blocks of ice.

- As the colorful water is added kids will begin to notice tunnels and burrows forming in the ice.

- The more that the salt melts into the ice the more that the tunnels will form and fill with the beautiful glowing colors.

- This is truly beautiful science and just as much an art activity. Rosie loved adding the glowing watercolors in specific patterns to create her icy works of art.

- And each icy piece turned out so fantastically different!

Extend the Fun
- Try this experiment using varying colors of glowing ice.

- Try this experiment with a plain block of ice. Using ice that did not glow allowed us to see the glowing burrows and tunnels even more clearly!

- Try this experiment using icy alphabet letters.
- Just follow the instructions for making glowing watercolors above and then pour the colors into alphabet ice trays.
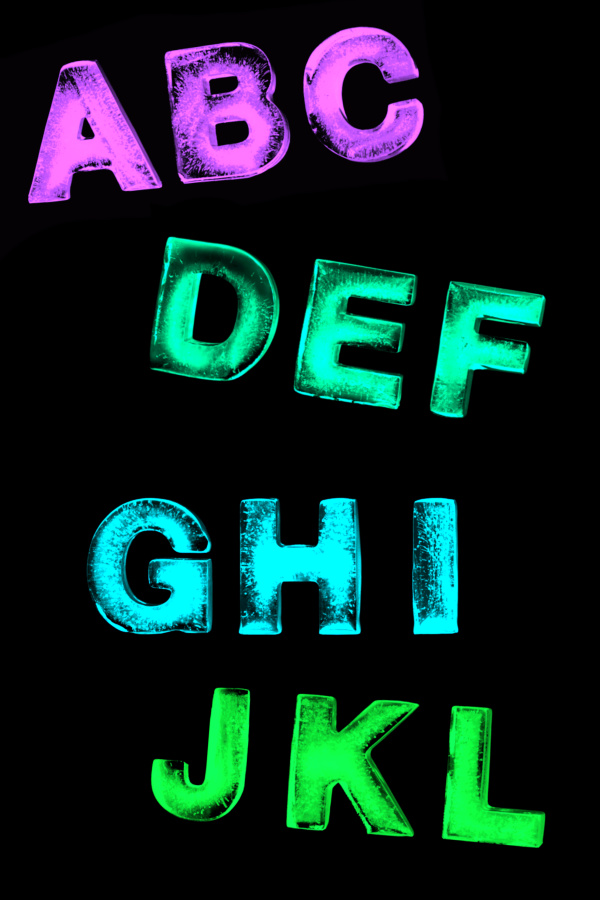
- Try using other variables and compare the results. What happens if you use sugar in place of salt?
The Science Behind the Fun
This experiment explores corrosion and the freezing point of water, but how does it work? Get a detailed, scientific explanation by following the link below:
This experiment explores corrosion and the freezing point of water, but how does it work? Get a detailed, scientific explanation by following the link below:
Tips & Resources:
- The neon paint that we used for this activity can be purchased on Amazon here.
- The blacklight that can be found on Amazon here.
- In addition to a traditional light fixture we also used these flashlights to help us look more closely.
More Science for Kids
MORE
for


