Here is a fun egg decorating idea that they are sure to love, and it only takes a minute to set up!

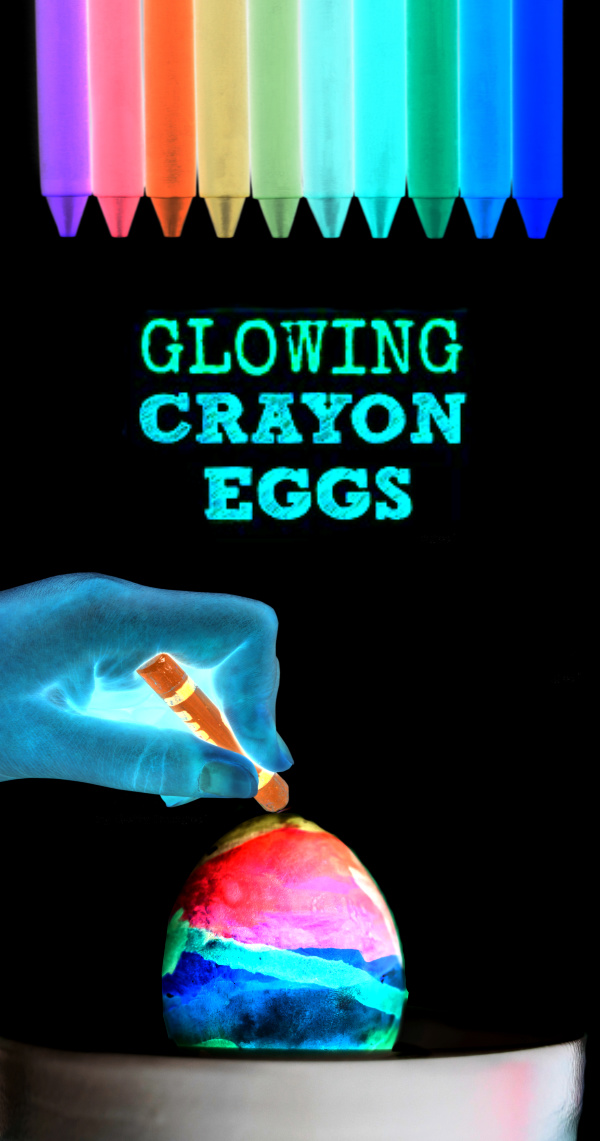
These melted crayon eggs turned out SO COOL! As the crayons melted onto the eggs the colors swirled and blended in the most stunning ways! We didn't use regular crayons, either. We used crayons that glow!
I recommend having lots of hard-boiled eggs on hand when you go to give this a try, because the kids will want to decorate a ton of eggs! Read on for the easy tutorial.
Melted Crayon Easter Eggs
Materials
- Warm eggs
- Neon crayons
- A blacklight
Note: You can use a blacklight fixture for this activity, or you can give these cool flashlights a try instead. My girls love using the flashlights!
Preparing the Eggs
- Begin by placing the desired amount of eggs in a pot and then adding enough water so that the eggs are fully submerged.
- Bring the eggs to a boil, and then remove the pot from the stove and cover it with a lid for 10-15 minutes.
- Carefully remove the eggs from the pot and allow them to cool for a minute or two. Then, the fun can begin!

Decorating Glowing Easter Eggs
- Turn the lights off and the blacklight on. Then, have kids draw on the warm eggs using neon crayons.

- The heat from the eggs will cause the crayons to melt, creating beautiful effects as kids draw.


- Kids can design and decorate the eggs in all sorts of ways using the crayons.


- The possibilities are endless, and the effects are beautifully stunning!!

My girls had so much fun with this Easter activity, and the set-up and clean-up were easy, making this egg decorating idea a win for everyone!

Extend the Fun

 Also be sure to give these other glowing Easter egg activities a try!

Extend the Fun
- Use glowing crayons to decorate hot stones.

- A full tutorial on this awesome craft activity is coming soon!
- Make glow crayon canvas art.

A few tips:
- You can find neon crayons online here.
- These are the blacklight flashlights that we use for our activities.
- If you prefer you could also use a blacklight fixture like this one.


