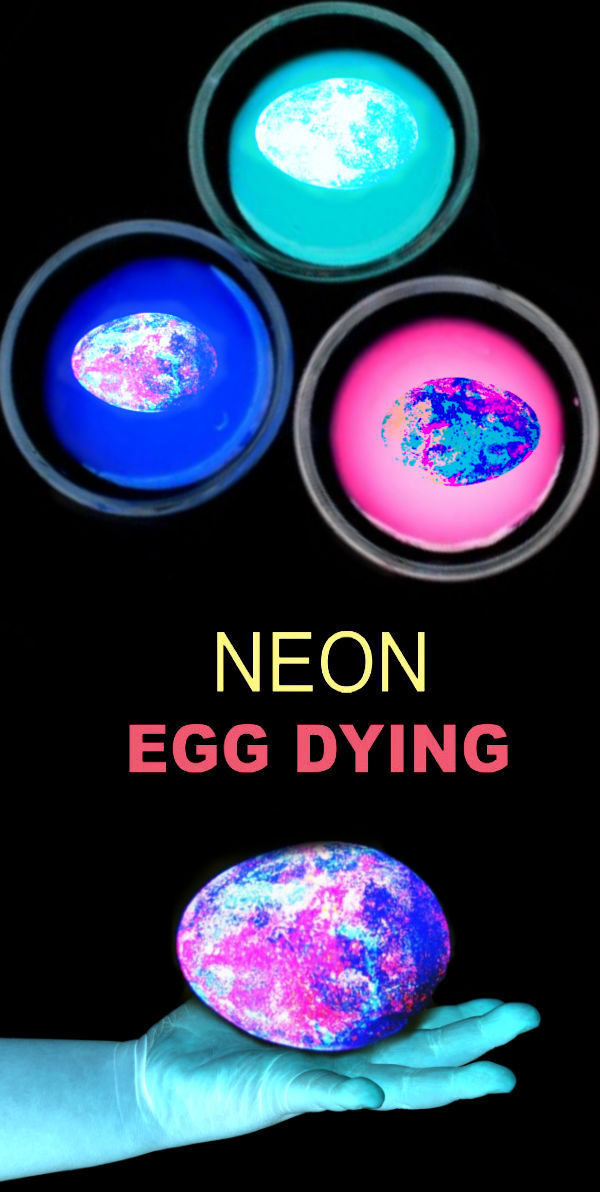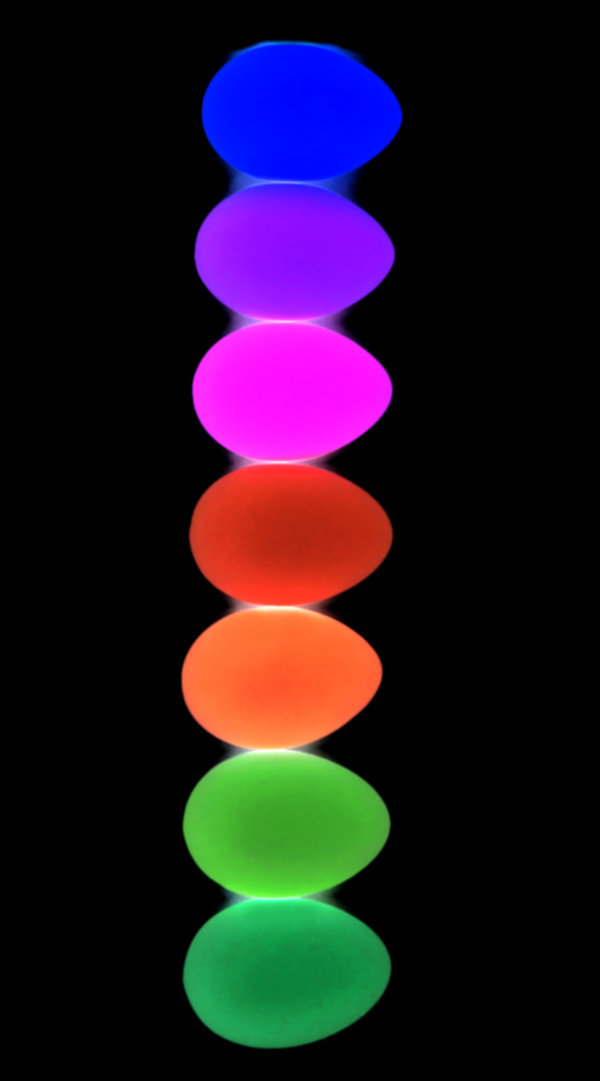
Rosie and Jewel were mesmerized by the entire process and wanted to decorate egg after egg! If your kids love things that glow-in-the-dark like mine do then you should definitely give this Easter activity a try!

Glow-in-the-Dark Egg Decorating for Kids
Materials
- Hard-boiled Eggs
- Neon nail polish
- Bowls/cups
- Water
- Toothpicks
- Gloves
- A blacklight
Method
- Begin by filling a large bowl or container with water.
- Then, slowly pour neon nail polish into the container in small amounts.

- The nail polish will float on the waters surface.

- You can use one color of glowing nail polish or many. We began with one color and slowly added more as we dyed our eggs.
- Use a toothpick or similar to swirl the nail polish and create fun designs.

- Then, dip your eggs into the nail polish, turning the eggs in the polish until all sides are covered.
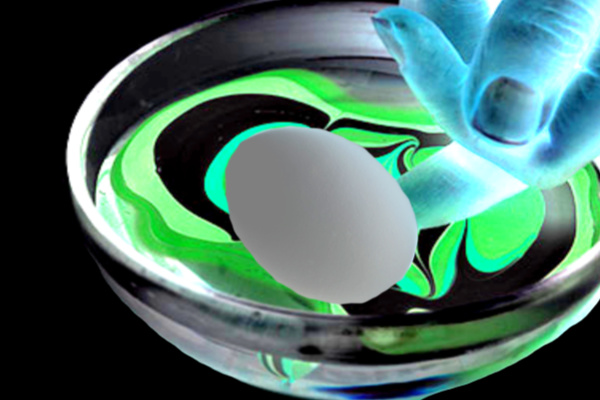
- Remove the eggs and allow them to dry for at least 30 minutes.

- Repeat these steps, creating different effects and designs until you run out of Easter eggs.


My girls absolutely LOVED this activity, and our marbleized glow eggs turned out absolutely stunning!


- Egg Decorating Ideas for Kids
- Kool-aid Easter Eggs
- Shaving Cream Dyed Eggs
- Fizzy POP Egg Dyeing
- Egg Hunt Ideas for Kids
- Bunny Crafts for Kids
Tips & Resources:
- For the best effect you will want to use a blacklight for this activity.
- You can use a blacklight fixture or these super cool uv-flashlights. We love using both!
- The neon paint that we use in our activities can be found on Amazon here.
- This activity is messy! I recommend covering the work space and wearing gloves.
- To get perfect hard-boiled eggs we always use an egg cooker. You can check out the one we have here.
MORE


