If you have snow where you are head outside and give this bit of deliciousness a try!


You only need a few materials for this activity, and the whole family will love making & eating snow candy! Are you ready to see how?


Snow Candy
Materials- 2 cups of 100% pure maple syrup
- Craft sticks
- A large pot
- Fresh fallen snow
Note: It is important that you use pure maple syrup. The maple syrup that we used for this activity can be purchased on Amazon here.
Preparing the Snow
- Begin by preparing the snow.
- Find a patch of clean, fresh snow that hasn't been contaminated by people or pets.
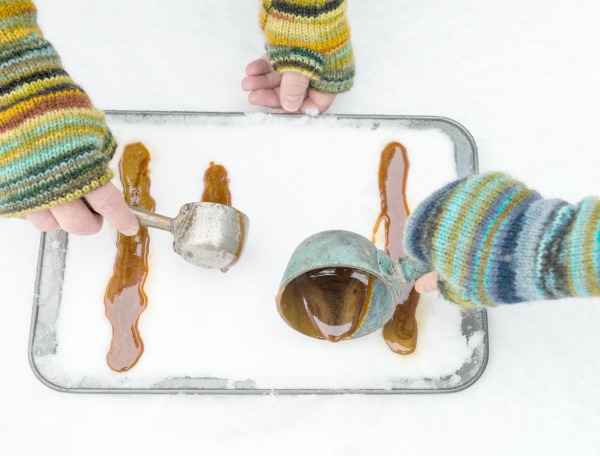
- Prepare the snow by pressing it down until it is firm. The snow will essentially be acting as a baking sheet.
- You could alternatively fill a shallow pan with fresh snow, pack it firmly, and head inside.
- We wanted to make our candy outside because it feels more magical, but we still opted to fill a pan with snow and pack it firmly.
Preparing the Maple Syrup
- Pour 2 cups of real maple syrup into a pot or sauce pan.
- Place the pot on medium-to high heat and bring the syrup to a boil, stirring often.

- Boil the syrup for 4-5 minutes, stirring constantly.
- Then, remove the syrup from the stove and head outside!
Making the Snow Candy
- Quickly pour the maple syrup onto your fresh, pressed snow before it has time to cool.

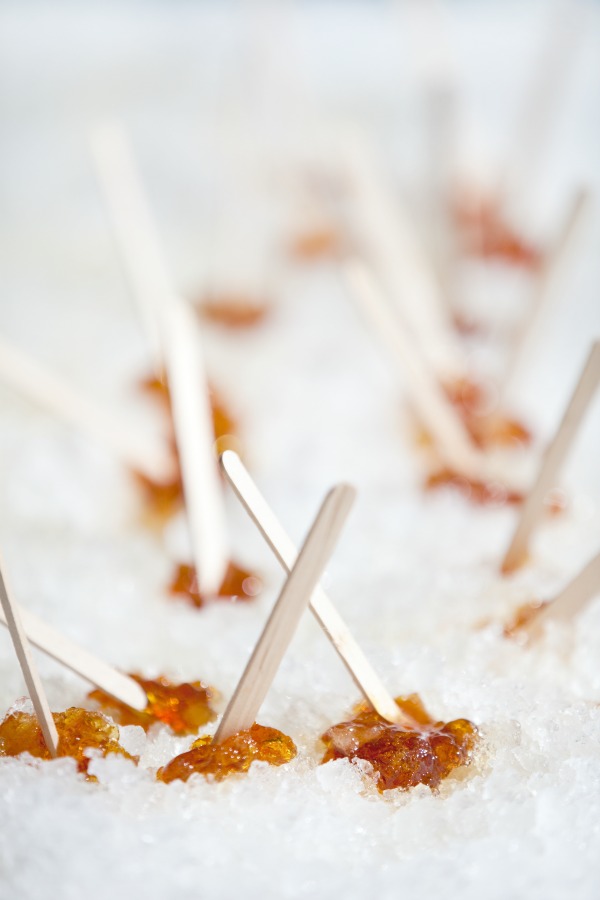
- Then, take craft sticks and use them to form the syrup into candy on the sticks.

- Roll the maple syrup on the sticks in the snow until the syrup is hard like a lollipop.

That's it! You now have delicious snow candy pops to eat & enjoy!

My family loves this activity! We don't really like winter or the snow, but making snow candy is one tradition that we look forward to each year!
I hope your family loves it, too!
I hope your family loves it, too!


