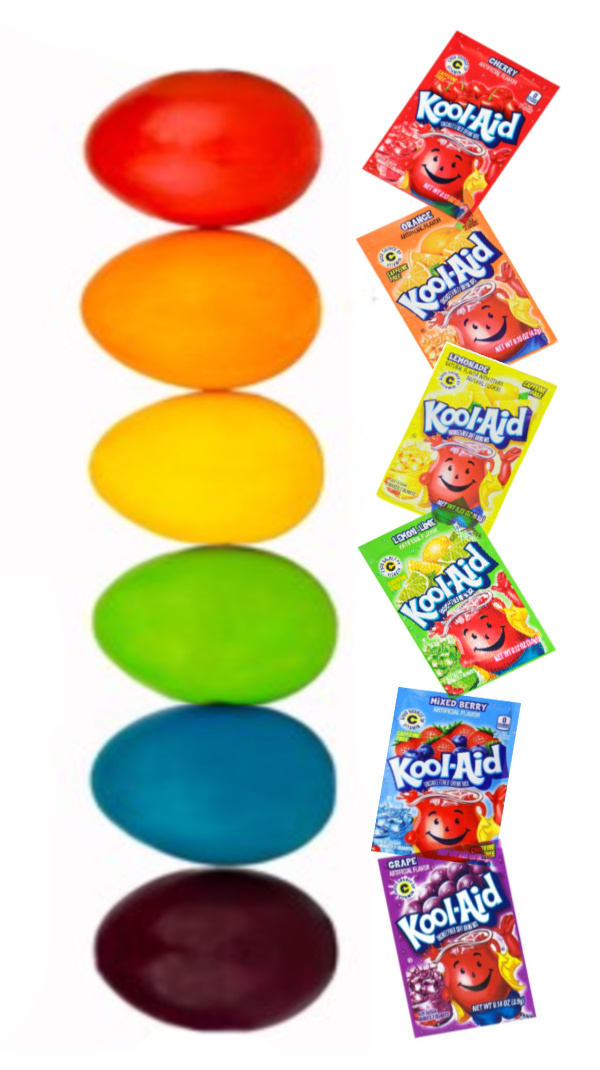
Did you know that you can easily dye eggs with Kool-aid? The process is fun, and the eggs turn out so colorful and fun! Kool-aid dye also makes the entire house smell amazing, unlike traditional egg dye which often stinks. Read on to see how you can dye Easter eggs without that awful vinegar smell.

Kool-aid Dyed Easter Eggs
Materials
- Hard boiled eggs
- Kool-aid packets
- Cups/bowls
- Spoons
- Paper towels
- Warm water
Method


- Begin by pouring one packet of Kool-aid into a large cup or bowl, using one bowl for each color of egg dye that you wish to make.
- Add 1 cup of very warm water to the bowls and stir until the Kool-aid is dissolved and the ingredients are combined.

- That's it! You now have super vibrant Kool-aid egg dye!

Dying Easter Eggs with Kool-aid
- Have kids carefully place hard boiled eggs into the dye and allow them to sit.

- Turn the eggs in the dye to ensure that all sides are colored evenly.
- You can leave the eggs in for varying amounts of time to create different colors of eggs.
- Once you are happy with the color of your egg(s) remove them from the dye and place them onto paper towels to dry.

- In 15-20 minutes you eggs will be dry & the final results stunning!


Do you love decorating Easter eggs?
Check out these other awesome egg dying techniques for kids:
Check out these other awesome egg dying techniques for kids:
Tips & Resources
- As with any dye this will stain. I recommend covering the work space and keeping paper towels close by.
- If you don't want tiny tinged fingers have the littles use gloves.
- We buy our Kool-aid in a variety of flavors/colors in bulk on Amazon here.
MORE
for


