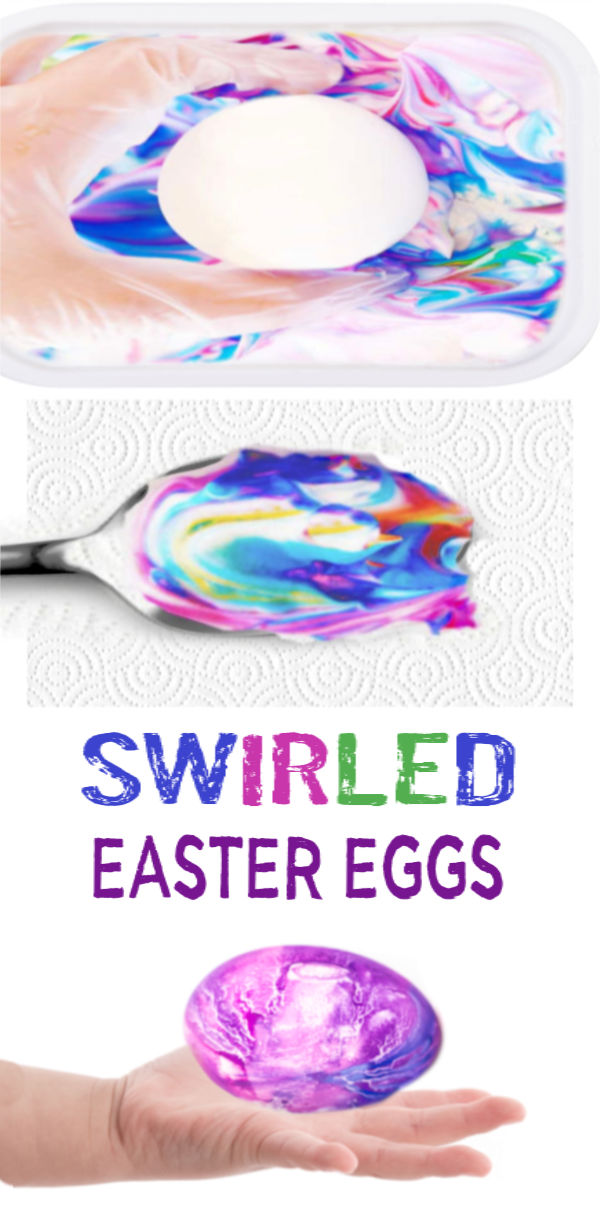
The process is fun, and the eggs created are truly mesmerizing. You won't believe what we used to dye these Easter eggs, either! Read on for the full tutorial.


Shaving Cream Easter Eggs
Materials
- Hard boiled eggs
- Shaving cream
- Food coloring
- A shallow container
- A spoon or spatula
- Paper towels
Method
- Begin with cool, hard-boiled eggs. Set them to the side while you make the egg dye.
Making the Dye:
- Fill a shallow container with shaving cream.

- Use a spatula or spoon to smooth & level the shaving cream surface. Then, place drops of food coloring along the surface.
- You can use one food color or many colors to create different effects. We used neon food dye.
- Use a spoon or spatula to gently swirl the drops of color around on the surface of the shaving cream.

- Now, you are all set to dye Easter eggs!
Dying Easter eggs with Shaving Cream
- Have kids carefully place the egg(s) into the pan of shaving cream.

- Allow them to sit for 3-5 minutes, and then turn them to the other side.
- Allow the eggs to sit for another few minutes, and then carefully remove them from the shaving foam, and place them onto paper towels.

- Then, have kids gently blot away any access shaving foam. Do not rub, as that will remove the coloring.
- Set the eggs onto a clean surface to dry for 10-15 minutes.

Aren't the final results absolutely gorgeous??!
 My kids loved this activity and had so much fun dying Easter eggs with shaving cream!
Extend the Fun:


Extend the Fun:
- Try mixing colors. Use two food colors that come together to make a new color like red and blue. What results do you get?
- Do you have younger children? Substitute whipped cream in place of shaving cream for a taste-safe version of this egg dying technique.
- Do your kids love things that glow-in-the-dark? Try making neon swirly eggs!

MORE
for


