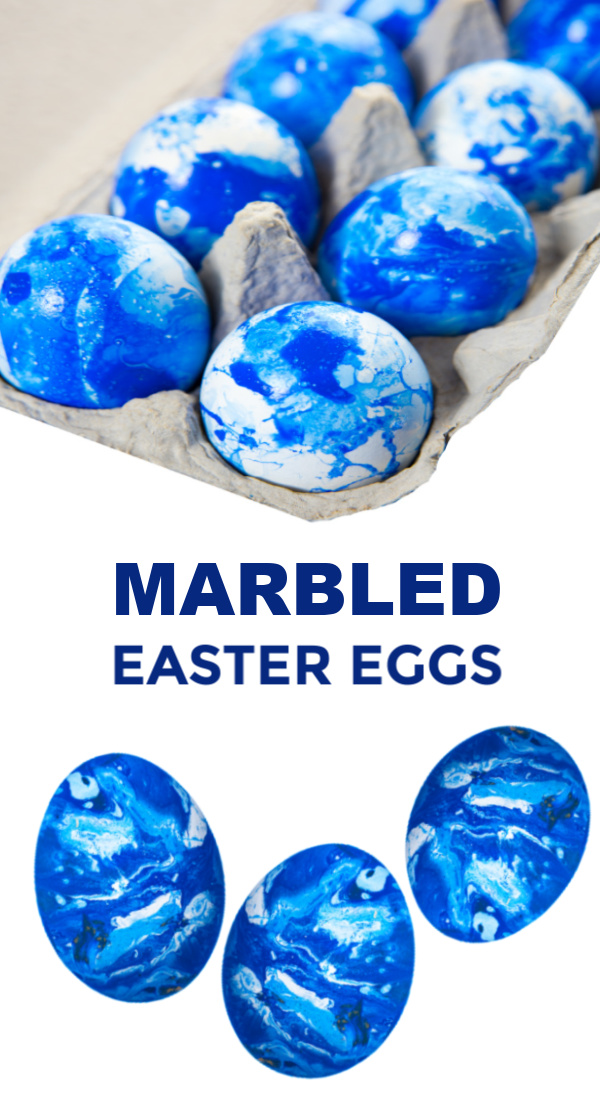
We have decorated Easter eggs this way before, but the results are always so incredibly cool and unique. Read on to see how you can make the most amazingly swirled Easter eggs at home with your kids.

We decided to use one food dye color here, but you can use as many colors as you would like.
Shaving Cream Marbled Easter Eggs
Materials- Hard-boiled eggs
- Shaving cream
- Food coloring
- A shallow container
- A spoon
- Paper towels
Method
- Begin by filling a shallow pan with shaving cream.

- Use a spoon or spatula to smooth the surface of the shave foam.
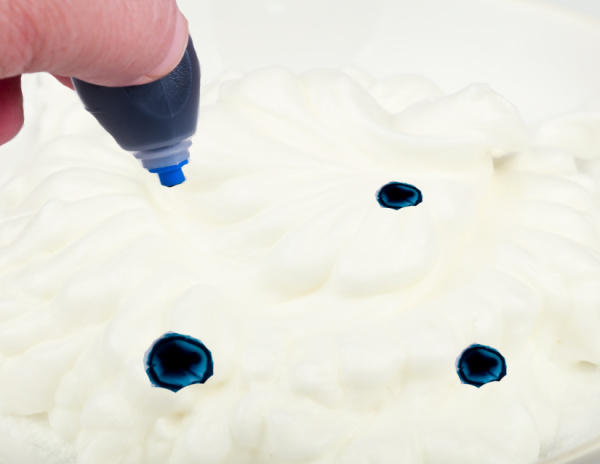
- Then, have kids add food coloring in random spots along the surface.

- Use a spoon or craft stick to gently mix the food coloring into the shave foam, creating a swirled design.

Decorating Marbled Easter Eggs with Shaving Cream
- Carefully place cool, hard boiled eggs into the swirled shaving foam.

- Allow the eggs to sit for 3-5 minutes.

- Then, flip the eggs and allow them to sit for another 3-5 minutes.
- Remove the eggs from the shave foam and place them onto paper towels to dry.
- Allow the eggs to sit for 15-20 minutes so that the coloring can seep into the eggs.
- Then, use a paper towel to gently tap away any sticky or wet spots.
- You now have absolutely stunning, marbled Easter eggs!


Extend the Fun
- Try this activity using a variety of food dye colors and make rainbow marbled eggs.
- Try using nail polish to make marbled Easter eggs.
MORE EGG DECORATING IDEAS:
MORE
for
KIDS:


