My girls are big fans, so I knew that they would be super excited to tie-dye Easter eggs! Read on to see how you can easily recreate this fun Easter activity at home.

For this egg dyeing technique you will only need a few common kitchen items. This was our first time trying this, so I wasn't sure what to expect, but the results were amazing!!
Are you ready to tie dye Easter eggs?
Are you ready to tie dye Easter eggs?
How to Tie-Dye Easter Eggs
Materials
Method
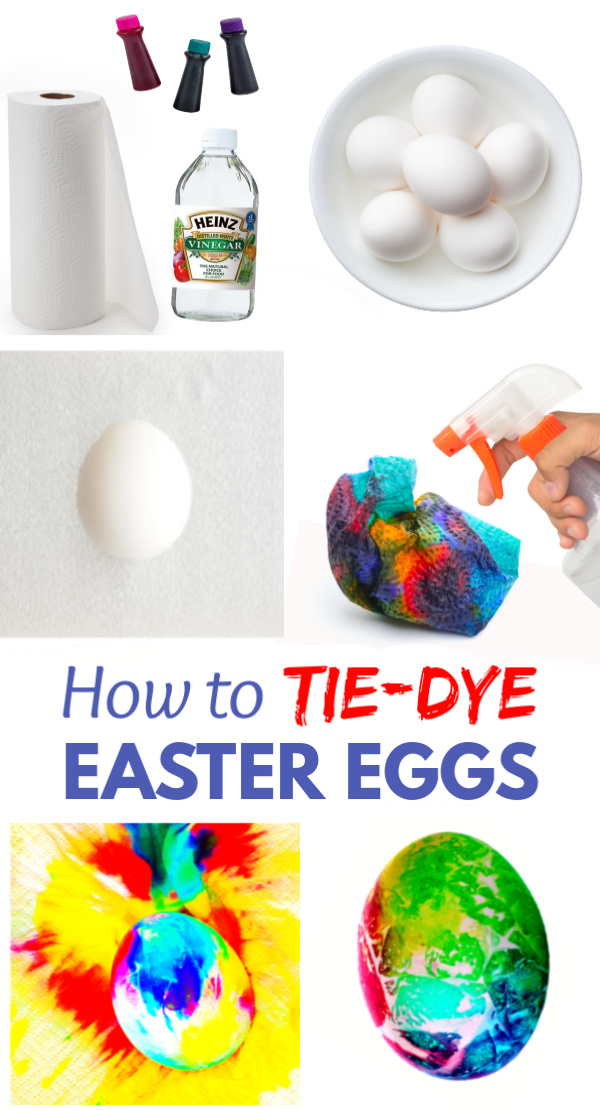
- Carefully wrap hard-boiled eggs in paper towels and secure them tightly.

- You can secure the paper towels with twist-ties, but I didn't feel this step was exactly necessary.
- Place the wrapped eggs onto a create-safe surface, or onto more paper towels.
- Now, comes the fun part!
Tie-Dyeing Easter Eggs with Paper towels
- Have kids drop food coloring onto the towel-wrapped eggs, mixing and adding colors as desired.

- Kids can add more or less coloring to create different effects, mixing and blending colors as they go.
- Once kids are happy with the colors added spray the wrapped eggs with vinegar until fully saturated.

- Allow the eggs to dry for 4-6 hours.

- Once dry unwrap the eggs and discover the amazing results!


- These eggs turned out absolutely stunning, and they were so easy to make!
Rosie and Jewel had so much fun and we also got to skip the awful vinegar smell that comes with traditional egg dyeing.
Extend the Fun
- Use more or less food coloring to create different effects.
- Turn this into a lesson in color theory by using two food dye colors that come together to make a new color.

- Try mixing different colors to make new colors.

MORE EGG DECORATING FOR KIDS
- Food Coloring Dyed Eggs
- Kool-aid Easter Eggs
- Marbleized Glow Eggs
- FIZZY-POP Easter Eggs
- Glowing Crayon Eggs
- Nail Polish Easter Eggs
MORE
for
KIDS:


